Hacking the PlayStation 1
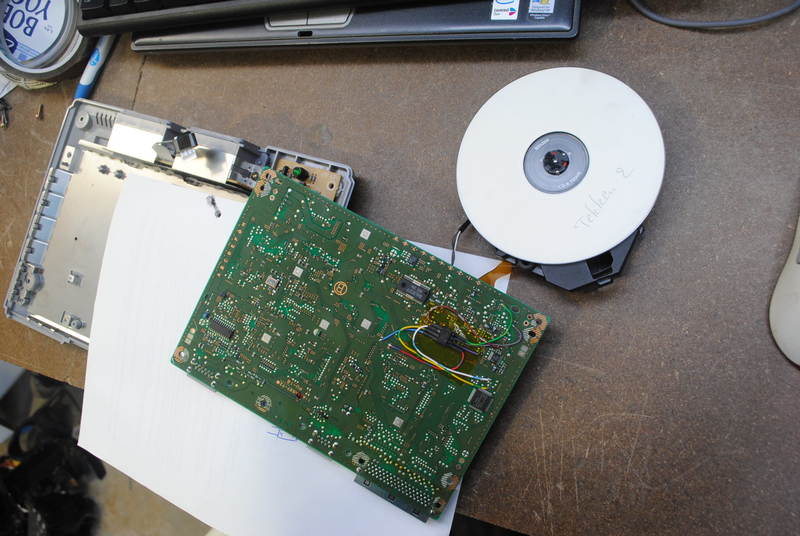
 Now this is old-school: I sometimes play Tekken 2 and Tony Hawk 1 with my mates on an old PlayStation 1. I used to have a borrowed PS1 which I had modded, but had to return it. I have since acquired my own PS1, so it is time to mod it so it can run copied game CD’s.
Mind you, the following is rather old news as these mods have been around and published for ages…
How modding works
Modding a PS1 involves installing a micro controller which injects certain region codes into the boot-up sequence, so that the PS1 is tricked into believing it is running an original CD.
When booting up the CD player streams data from the first locations on the game CD to the PS1’s controller. The official CD’s have bad blocks on the CD, if the controller sees these blocks it will continue to boot the game. CD copiers will correct the bad blocks when writing CD’s, which will be detected by the PS1 when booting. For a detailed technical explanation of the PlayStations’ copy protection scheme.
Mod chips circumvent this rather simple copy protection scheme by generating the bad blocks and injecting them into the data stream between the CD player and the controller. The controller will now see them in the data stream, and since there’s no way it can sense if this data is effectively on the game CD, it will boot any copied game even though there are no bad blocks on the CD.
Different versions on mod chips offer variations on the way this works.
-
Original: the original mod chip continuously sends out the bad blocks. Once the PS1 had detected them, it would ignore any subsequent instances.
-
Multimode: this mod allows to play copied games from all regions on the same console.
-
Stealth: later versions of the PS1 tried to break the mod chips by detecting if the bad blocks in the data stream is repeating or cycling through different region codes, and halting if it assumes there’s a mod chip. The Stealth mod chip beats this attempt by shutting down after sending the bad blocks, so there’s no way the controller can detect it.
Modding the console
Luckily these mods are mostly based on Microchip PIC controllers, for which I have both the experience, and the tools for programming.
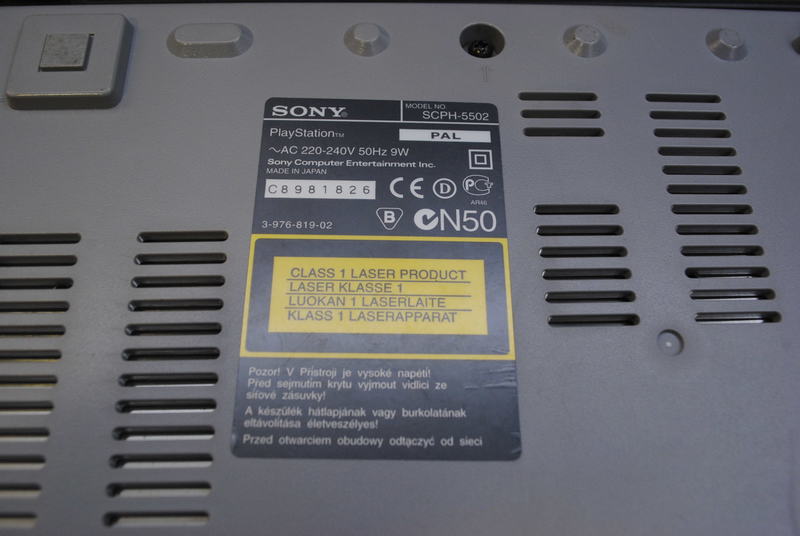
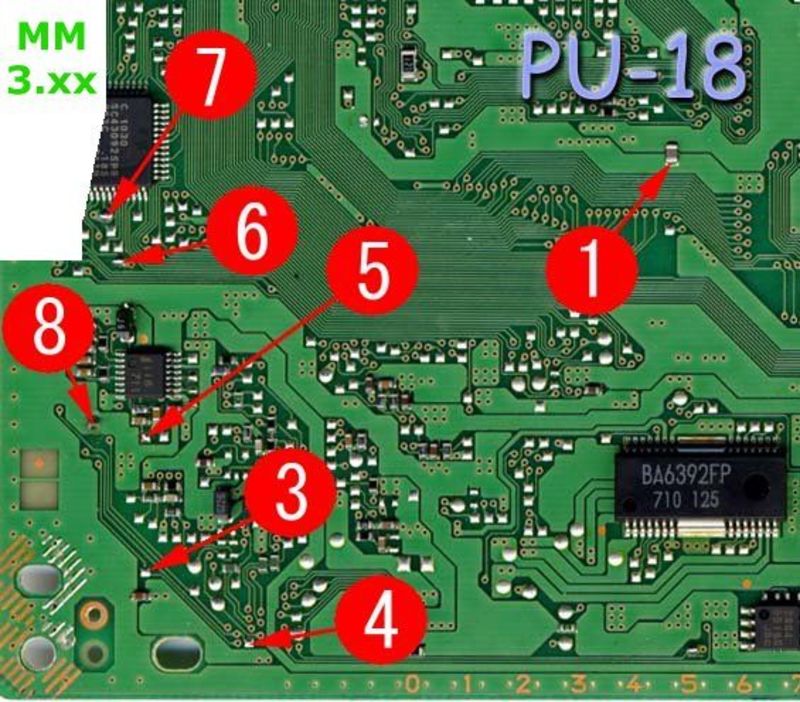
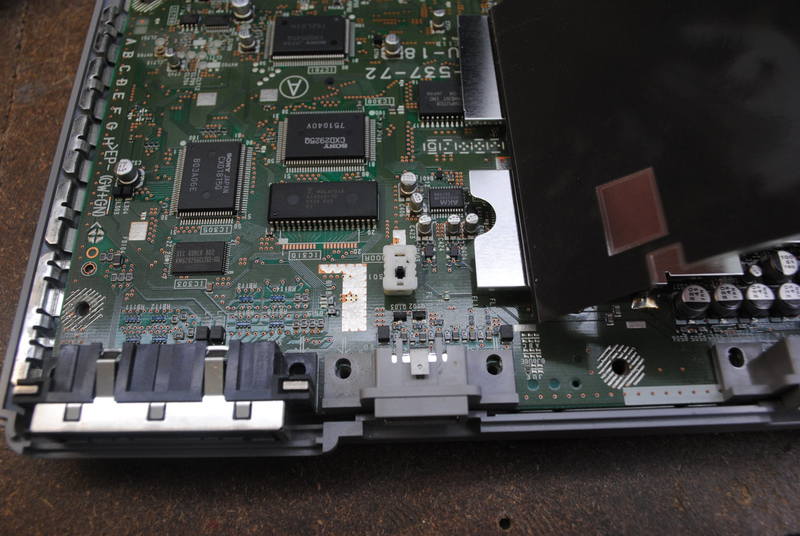
There are lots of different PS1 models. The model number is listed on a sticker on the bottom of the device. I own a SCP-5502 PAL device, with a board revision PU-18. The latter is important for finding the correct connection diagram for the PIC.
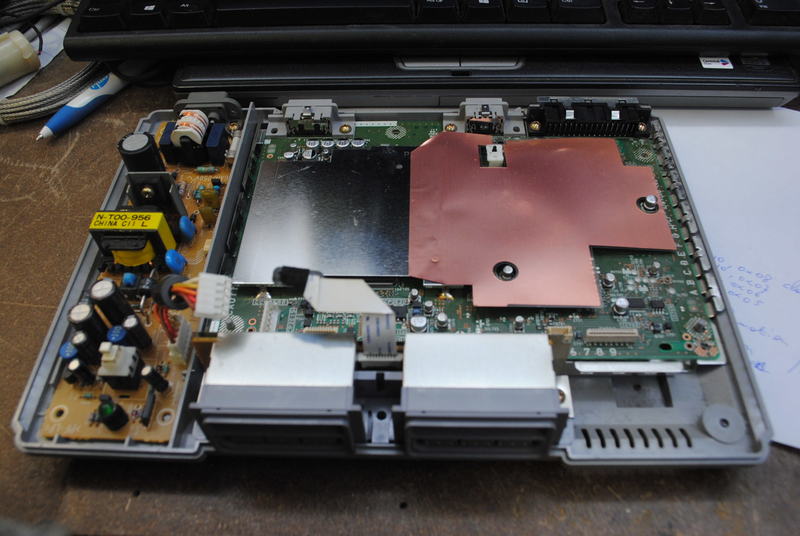
Disassembling the unit
Time to disassemble the unit. After removing the black screws on the bottom, the top of the case comes off. Be careful not to damage the flat-cable connections to the CD player assembly. You can just pull out all cables and connectors. Also don’t lose the little spindle with ball bearings that holds the CD-ROM as it is loose on the shaft.
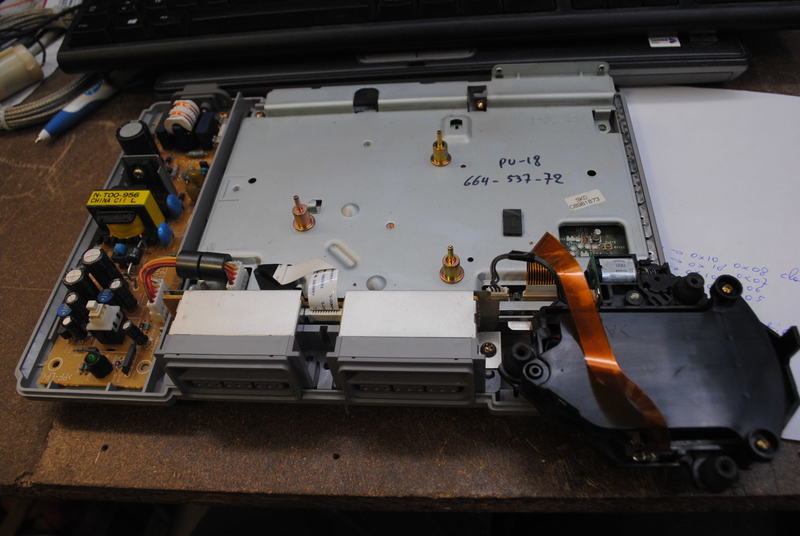
Removing the metal shielding/cover exposes the PCB. We need to access the bottom side of the PCB, so the screws next to the connectors need to be removed in order to be able to flip the PCB over.
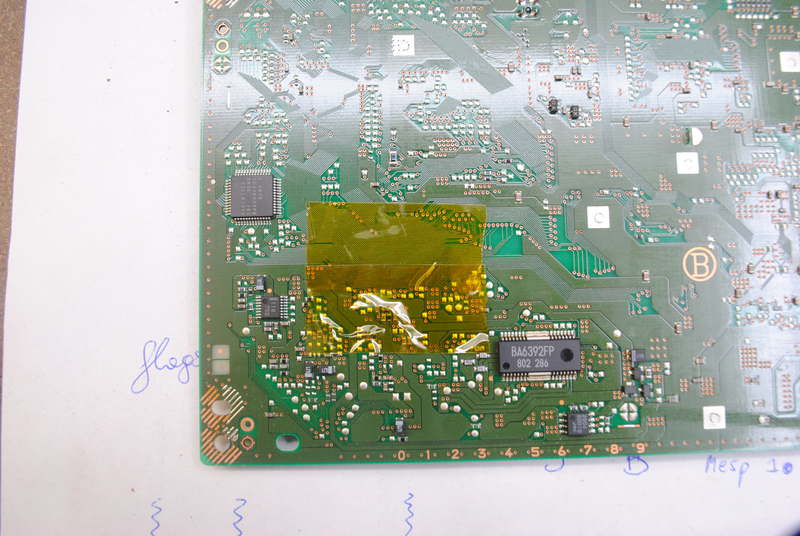
This is the bottom of the PCB.
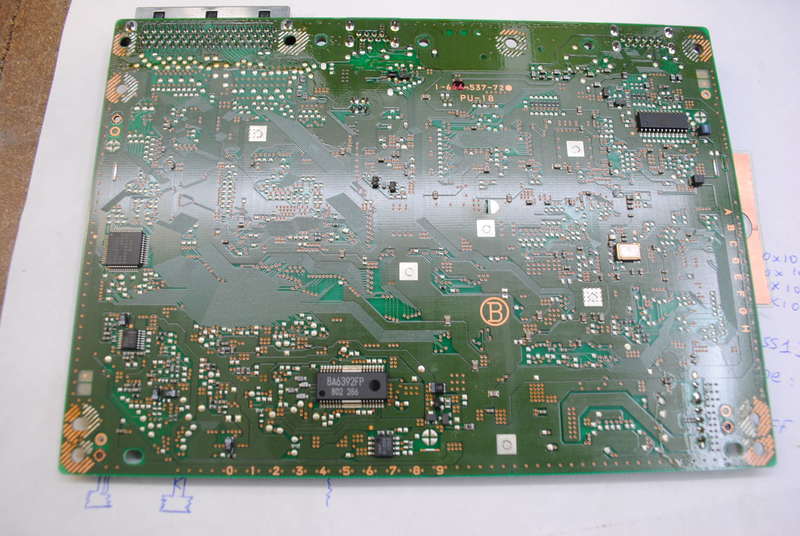
You’ll see the bottom left part of the PCB corresponds to the connection diagram we found.
Programming the mod chip
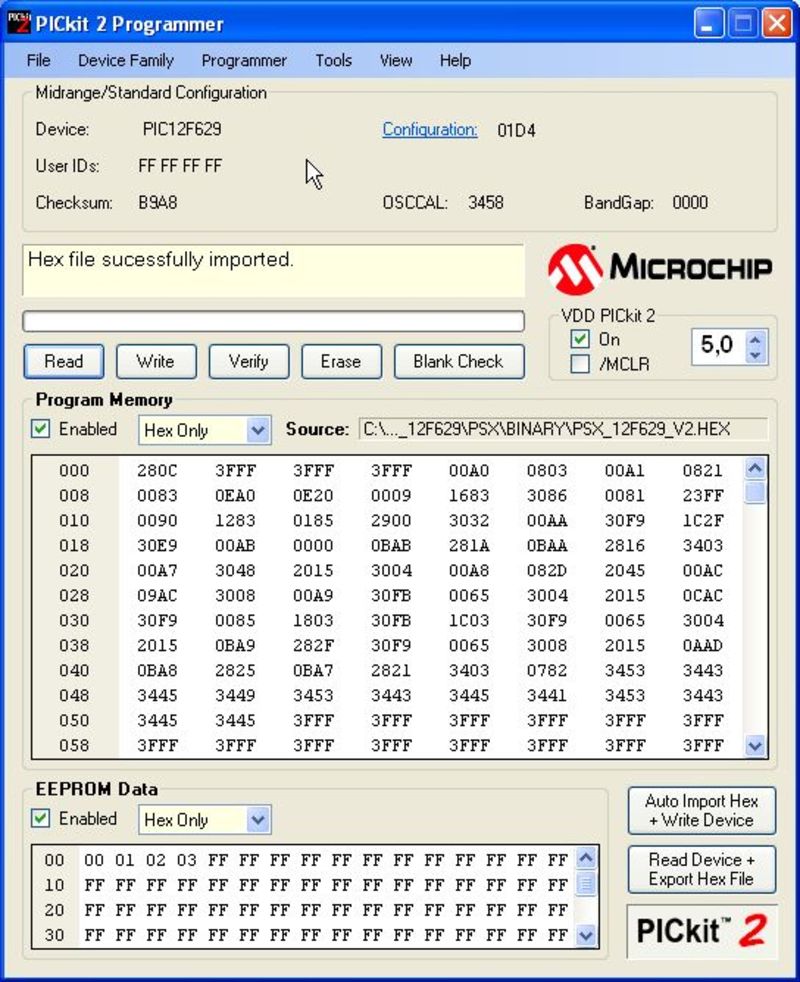
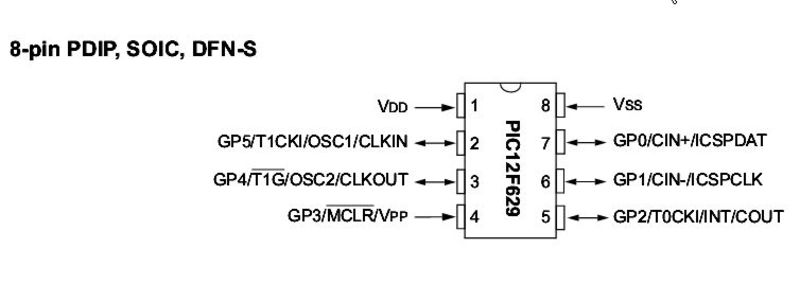
Now it’s time to program the microcontroller. Connect a PIC12F629 to the programmer. I am using the excellent PICkit2 by Microchip. The PIC has been connected as according to the datasheet.
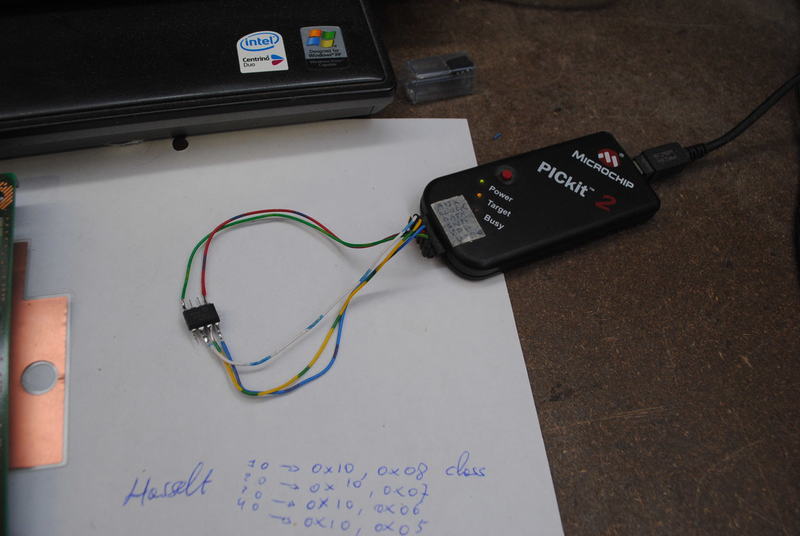
Now import the HEX file. I am using the PMM3eur12f629.HEX file, which is a Multimode 3 version.
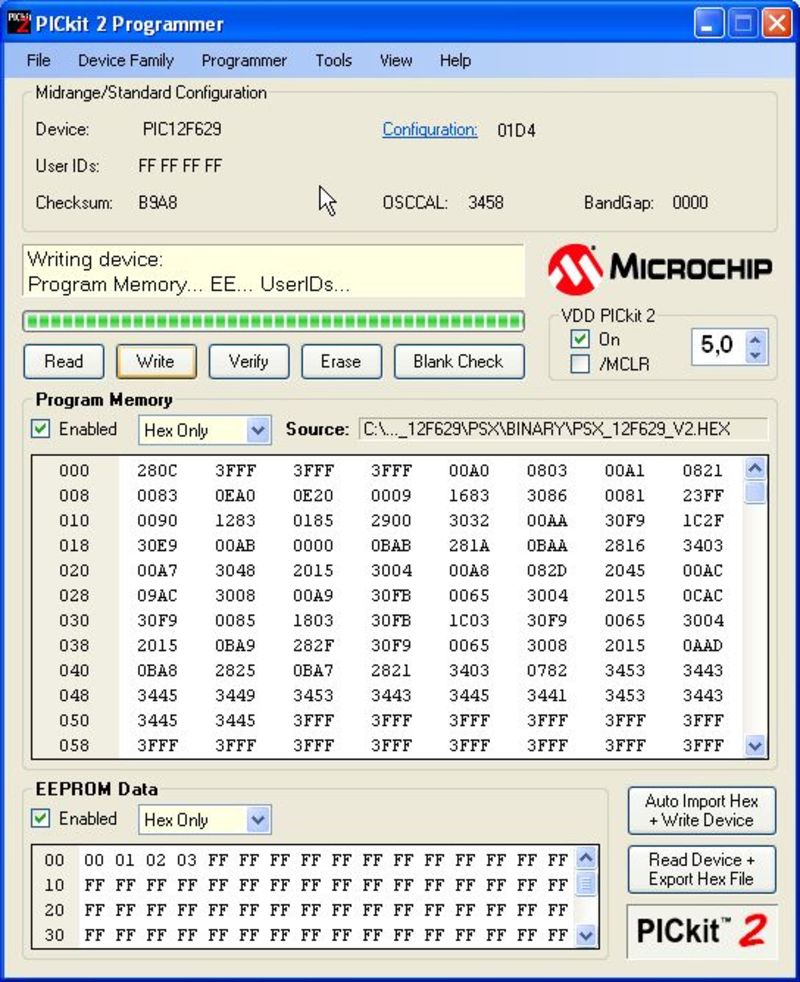
Let’s write it to the PIC…
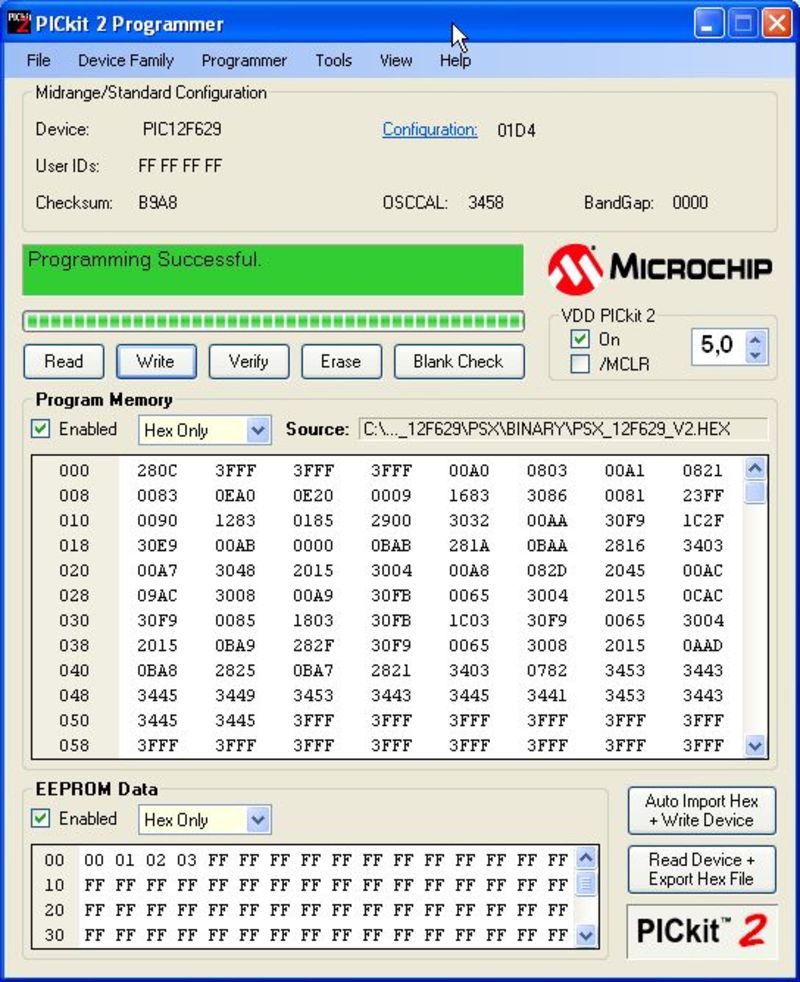
…programming successful…
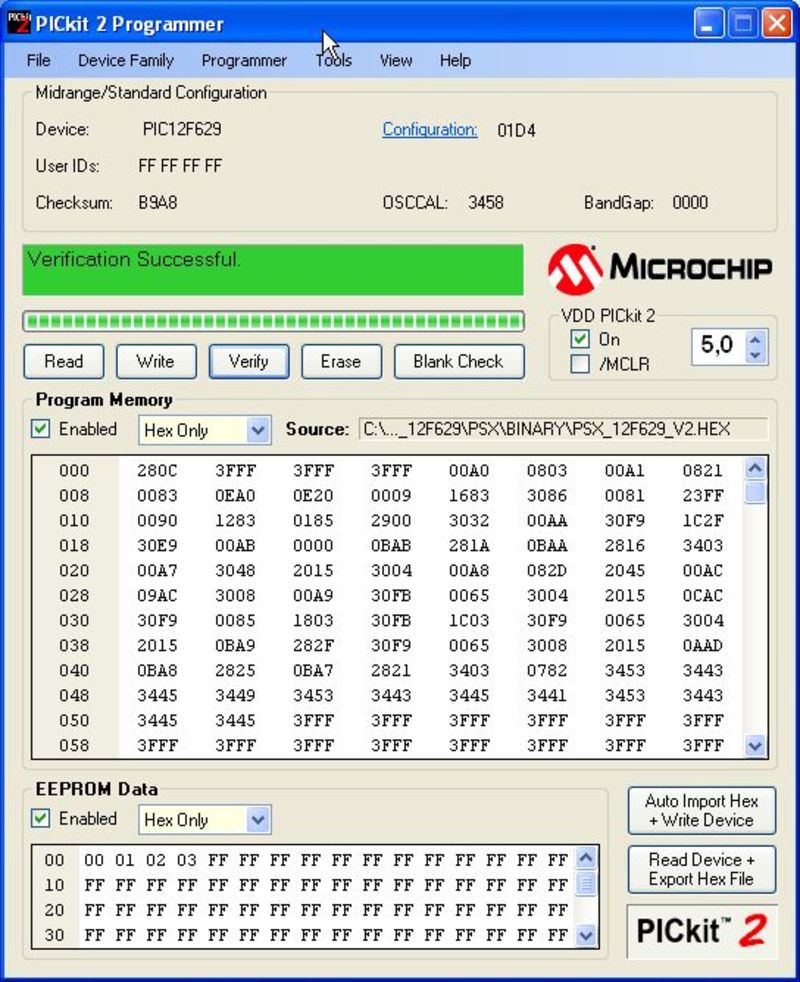
…and verify if it has been written correctly.
Installing the mod chip
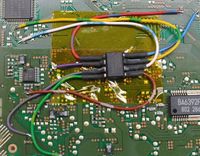
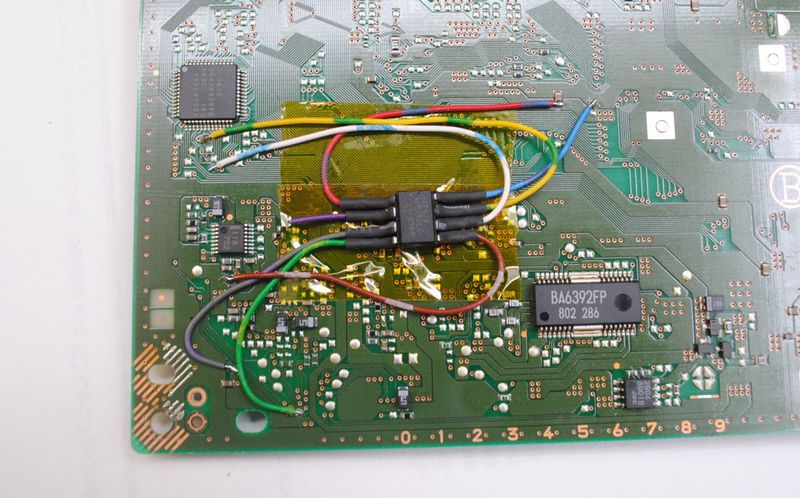
So now we have a mod chip. All we need to do is solder it in. Solder pin 1 of the PIC to pin 1 on the PCB (as marked on the diagram) etcetera. Nothing hard really. Here’s the pin-out for the 12F629.
First I stuck down a piece of Kapton tape to insulate the PIC from the PCB.
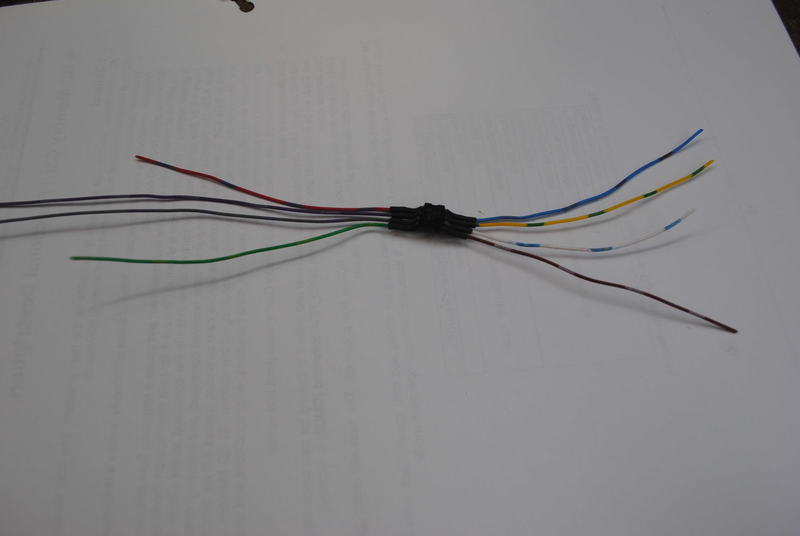
I then soldered on the remaining 5 wires. To easily identify the wires, I used coloured solid core wires from a multi-pair CAT5 cable. The PIC’s pins were insulated using heat shrink sleeve.
Now we’ll connect each wire one by one to the PCB. First we’ll start with the VDD and VSS pins. As you’ll notice I have picked up the VSS signal in a more convenient place than is marked on the diagram.
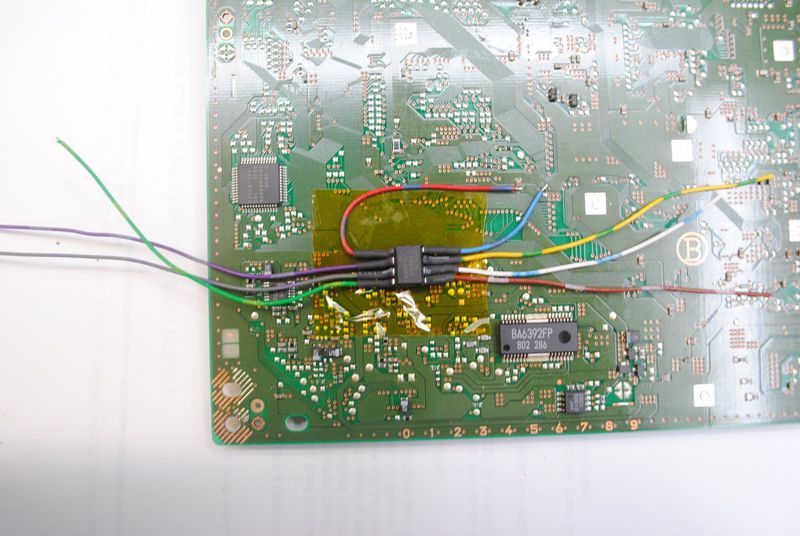
And then I notice that the diagram does not mention a connection to pin 2. Oh well, we’ll snip off the wire… The other wires are soldered to their respective pads as well.
Testing the mod
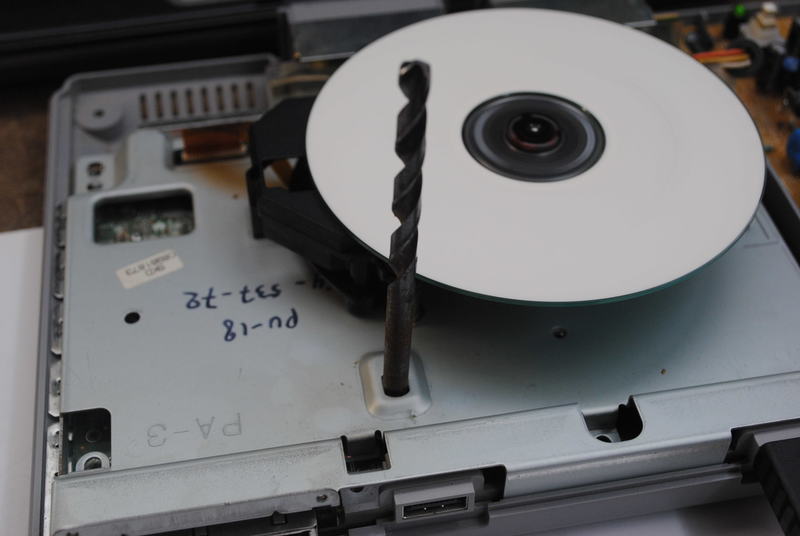
Let’s provisionally boot it up and see what it does. I’ve connected the bare PCB to the power supply connector, and hooked up the two connectors for the CD-ROM reader.
There’s a switch on the top of the PCB which detects if the top cover is installed (in the middle of the next photo). You’ll need to keep this pressed, otherwise the PS1 won’t boot. I stuck a 6.10mm drill shaft into the hole, but a piece of tape should do the trick.
In the meantime I’ve partially assembled the PS1 for this test, seems safer that way.
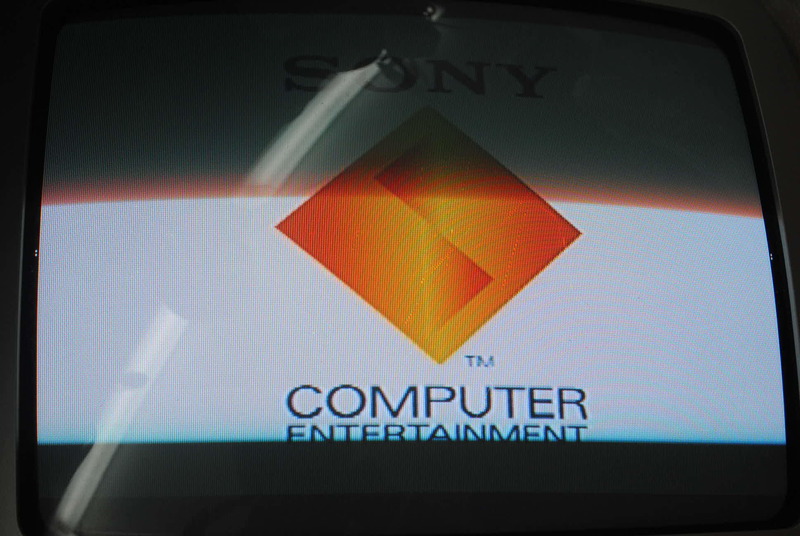
This boot screen is generated by the console itself.
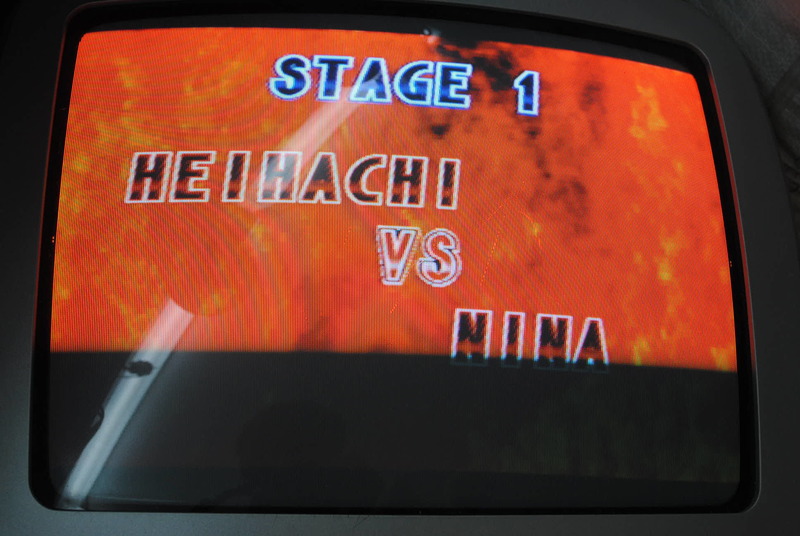
The next boot screen is read from the CD. This means that the mod chip is doing its job and the PS1 is booting the copied CD.

Success! Time to enjoy our old games…

Resources
MM3eur12f629.HEX (worked for me)
PSX_12F629_V2.HEX (didn’t work)